Table of Contents
ToggleLearning how to home networking works can feel overwhelming at first. Routers, modems, IP addresses, and wireless signals all blend together into technical noise. But here’s the thing: setting up a reliable home network is simpler than most people think.
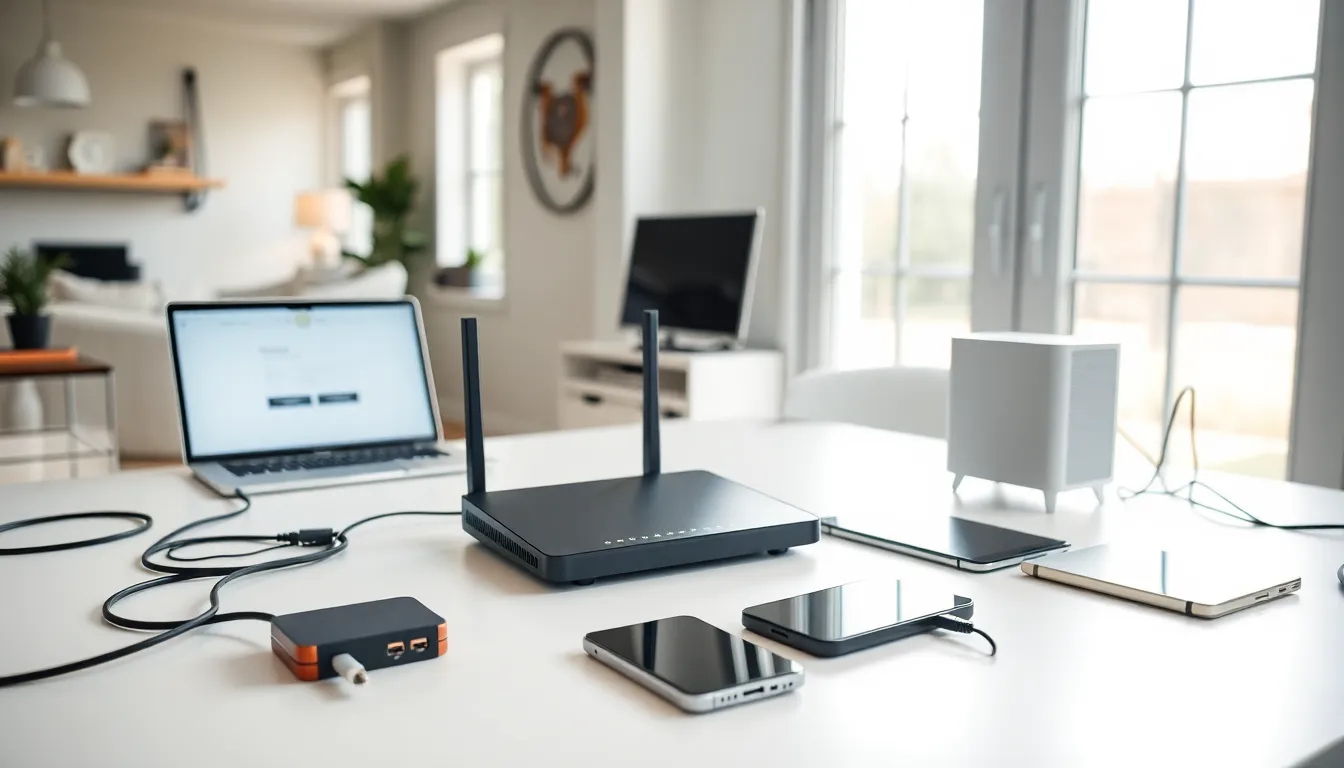
A home network connects all devices in a household, smartphones, laptops, smart TVs, and gaming consoles, to the internet and to each other. This connection allows file sharing, streaming, and remote work from any room. Whether someone wants faster Wi-Fi for video calls or needs to extend coverage to a home office, understanding basic home networking principles makes the process straightforward.
This guide breaks down everything beginners need to know. It covers essential equipment, setup steps, and practical tips for better performance and security.
Key Takeaways
- Home networking connects all your devices to the internet and each other using two main components: a modem (for internet access) and a router (for distribution).
- Invest in a Wi-Fi 6 or Wi-Fi 6E router for faster speeds, and consider a mesh system if your home has dead zones.
- Complete your home networking setup in under 30 minutes by connecting the modem first, then the router, and configuring a strong password with at least 12 characters.
- Place your router in a central, elevated location away from walls and appliances to maximize Wi-Fi signal strength.
- Secure your network by using WPA3 encryption, changing default admin credentials, and creating a separate guest network for visitors.
- Regularly update router firmware and monitor connected devices to keep your home network fast and protected from unauthorized access.
Understanding the Basics of Home Networking
A home network is a group of devices that communicate with each other and share an internet connection. The network relies on two main components: a modem and a router.
The modem connects a home to the internet service provider (ISP). It translates the signal from the ISP into data that devices can use. Without a modem, there’s no internet access.
The router takes that internet connection and distributes it to multiple devices. It creates a local network, assigning each device an IP address so they can communicate. Most modern routers also provide Wi-Fi, which eliminates the need for physical cables on every device.
Home networking uses two connection types:
- Wired (Ethernet): Devices plug directly into the router using Ethernet cables. This provides the fastest, most stable connection.
- Wireless (Wi-Fi): Devices connect through radio signals. This offers convenience but can experience interference or slowdowns.
Many households use both. Desktop computers and gaming consoles often use wired connections for speed, while phones and tablets rely on Wi-Fi for mobility.
Understanding these basics makes the rest of the home networking setup process much clearer. The modem brings the internet in: the router spreads it around.
Essential Equipment You Need
Setting up home networking requires specific hardware. Here’s what most beginners need:
Modem
The modem connects to the ISP’s network. Some ISPs provide a modem, while others require customers to purchase one. Buying a compatible modem can save money on rental fees over time.
Router
The router distributes the internet connection. Look for a router that supports Wi-Fi 6 or Wi-Fi 6E for faster speeds and better device handling. Dual-band or tri-band routers offer multiple frequency options (2.4 GHz and 5 GHz), which reduces congestion.
Modem-Router Combo
Some devices combine both functions into one unit. These combos save space and simplify setup. But, separate devices often provide better performance and easier upgrades.
Ethernet Cables
Cat6 or Cat6a Ethernet cables work well for most home networking needs. They support speeds up to 10 Gbps over short distances. Keep a few on hand for devices that need wired connections.
Wi-Fi Extenders or Mesh Systems
Large homes may have dead zones where Wi-Fi signals don’t reach. Wi-Fi extenders boost the existing signal. Mesh systems create a seamless network using multiple access points, they’re more expensive but offer better coverage.
Network Switch (Optional)
A network switch adds extra Ethernet ports when the router doesn’t have enough. This is useful for home offices or entertainment centers with many wired devices.
Gathering this equipment before starting ensures a smooth home networking setup.
Step-by-Step Guide to Setting Up Your Network
Follow these steps to set up home networking from scratch:
Step 1: Connect the Modem
Plug the modem into the coaxial cable or phone line (depending on the internet type). Connect the power adapter and turn the modem on. Wait 2-3 minutes for it to fully boot and establish a connection with the ISP.
Step 2: Connect the Router
Use an Ethernet cable to connect the modem to the router’s WAN or Internet port. Plug in the router’s power adapter. Wait for the indicator lights to show it’s ready, usually solid green or white.
Step 3: Access the Router’s Settings
Open a web browser on a connected device. Type the router’s default IP address (commonly 192.168.0.1 or 192.168.1.1) into the address bar. Log in using the default credentials, which are printed on the router or in its manual.
Step 4: Configure the Network Name and Password
Change the default network name (SSID) to something recognizable. Create a strong password, at least 12 characters with numbers, letters, and symbols. This step is critical for home networking security.
Step 5: Connect Devices
On each device, open Wi-Fi settings and select the new network name. Enter the password. For wired connections, plug Ethernet cables from devices into the router’s LAN ports.
Step 6: Test the Connection
Open a browser and load a few websites. Run a speed test to confirm the connection meets expectations. If something isn’t working, restart the modem and router.
These steps complete basic home networking setup. Most users can finish in under 30 minutes.
Tips for Optimizing Network Performance and Security
A working network is just the start. These tips improve home networking performance and protect connected devices:
Position the Router Strategically
Place the router in a central location, elevated off the floor. Avoid putting it near microwaves, cordless phones, or thick walls, these interfere with Wi-Fi signals. A clear line of sight to frequently used areas helps.
Update Firmware Regularly
Router manufacturers release firmware updates that fix bugs and patch security holes. Check for updates every few months through the router’s admin panel. Some routers offer automatic updates.
Use Strong Encryption
Set the Wi-Fi security to WPA3 if the router supports it. WPA2 is acceptable if WPA3 isn’t available. Never use WEP, it’s outdated and easy to crack.
Create a Guest Network
Most routers allow a separate guest network. Visitors can access the internet without gaining entry to the main home networking setup. This protects smart home devices and shared files.
Change Default Admin Credentials
The default username and password for router settings are public knowledge. Change them immediately to prevent unauthorized access.
Enable Quality of Service (QoS)
QoS settings prioritize certain types of traffic. If video calls keep dropping, configure QoS to prioritize that device or application. This feature makes a noticeable difference during peak usage.
Monitor Connected Devices
Check the router’s admin panel occasionally to see what’s connected. Unfamiliar devices might indicate unauthorized access. Most routers let users block unknown devices.
Following these practices keeps home networking fast, stable, and secure.


